Vermes
Advanced Member level 4

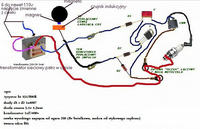
Elements used:
- few diodes
- transformer
- thyristor
- capacitor
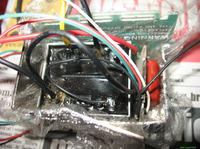
Transformer fits the housing. On the left there is the board with electronic elements. The housing was filled with the film, so that the resin which was poured, not flower through the cracks.
The resin ready to be poured:
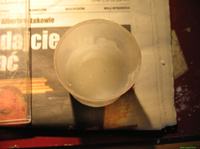
After pouring and drying it looks like that:
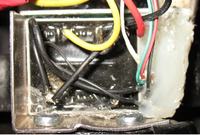
Next step was making inductive sensor, which is the usual thin wire wounded coil. For this purpose a coil from a car relay (VW Golf 3) was used. Each relay is suitable, but it's better to choose the less complicated one – it usually is also smaller.
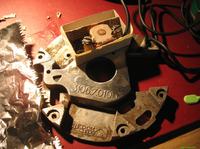
A bit down:
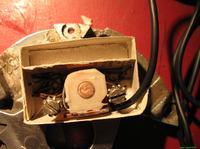
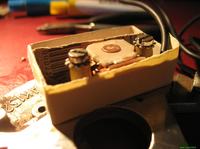
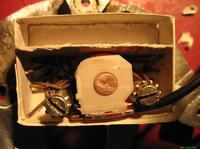
It is worth giving the 'shirts' on the screws, it is easier then unscrew and screw again.
Secondly, when drilling in the adhesive, cracks can be easily made and the sensor can be broken.
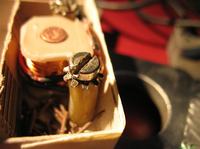
Pouring:
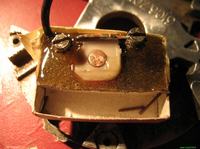
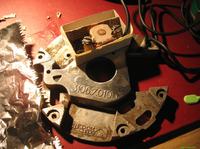
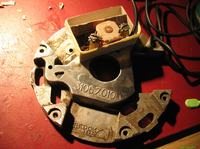

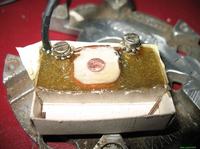
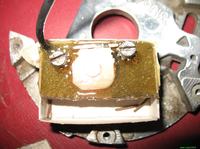
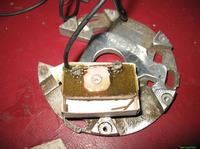
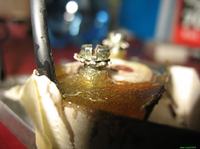
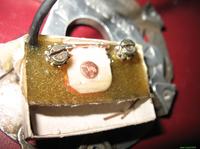
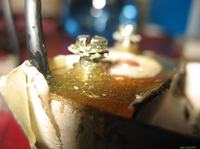
When pouring, it is worth screwing the coil to the base point. Then we can avoid moving and assure that everything fits. After pouring – leave to dry. In this case, in a warm place, it chilled about 12 hours.
Now the assembly:
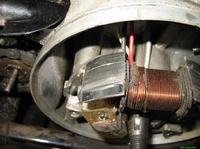
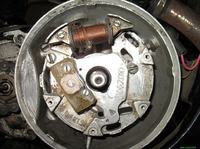
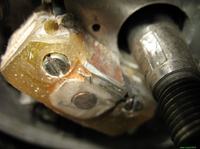
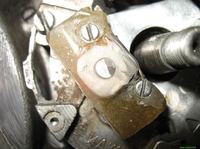
A marker place on the magnetic must be chosen individually. But it must be in a place like that after passing over the sensor, the ignition would be activated in GMP. In this case, the marker used was neodymium magnet from a hard drive.
After drilling the hole in it, it was drilled directly to the magnet. Passing over the sensor it is situated in distance about 0,5mm.
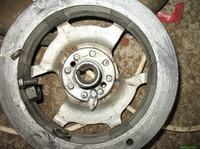
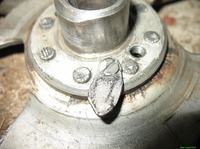
Module was hidden in the place of accumulator:
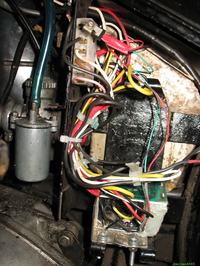
Ignition coil under the tank:
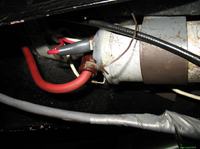
The motorcycle after pouring drives very well, the spark is strong and blue.
Link to original thread – Zapłon CDI WSK 125 tani i dobry