Vermes
Advanced Member level 4

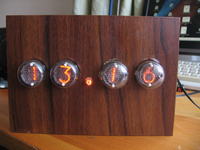
Useful project for this construction:
- **broken link removed**
- **broken link removed**
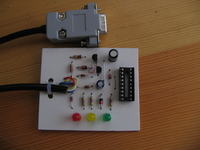
- Programator JDM pamici EEPROM i PIC – for PIC16F84A
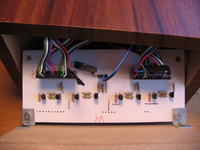
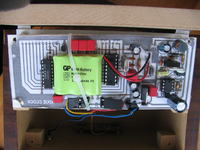
The boards of the clock did not fit, iron method was used. If they do not move ideally, it is possible to fix them with a marker. Then the components were etched and soldered. In order to simplify the work, you can stick the printed mounting scheme on the main board.
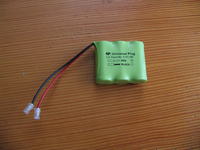
After connecting to the voltage 9V, the converter should work properly, and 250V should be received on HV pins. Voltage up to 135V.
A cable connects the lamp base with the board. After inserting PIC, plugging one lamp, neon and the power supply, everything should work.
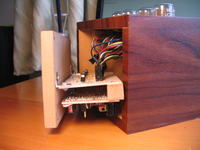
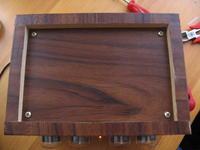
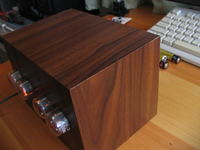
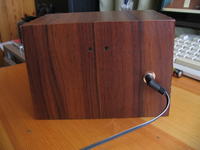
The housing was made of MDF plate 12mm thick, but 8mm is also sufficient. Lamps, neon and buttons were screwed from the inside (lamps in their stands, the rest on pieces of laminate). Supply socket was placed outside the housing. To have easy access to the electronics, it is recommended not to adhere the lower housing wall. It was put a bit deeper into the device, in the middle (corners) of which some wooden blocks with holes drilled were glued. The bottom can be thus loosen at any time. Similar blocks were used to screw the plates. Only two corners were screwed, the opposite edge clung enough on the headers. The plates were screwed using angles to the removable bottom part of the housing. The whole was covered with veneer.
Program in Assembler requires some modifications so the clock is punctual.

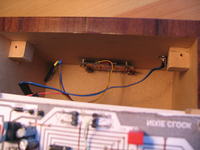
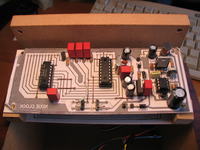
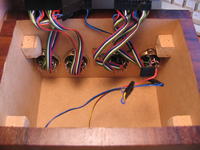
Link to original thread (useful attachment) – Oszczedna wersja zegara Nixie na PIC16F84 by pimap
Last edited: