Vermes
Advanced Member level 4

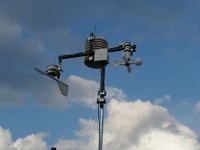
This 1-Wire weather station measures a lot of weather conditions:
- temperature in the sun
- temperature in shade
- pressure
- humidity
- sunshine intensity
- wind direction
- wind speed
If for electronics for measurement of humidity, pressure and sunshine intensity, simple schemes based on system DS2438Z can be found at: **broken link removed**.
Scheme of wind meter can be also found on the Internet. That device is based on DS2450 and meter DS2423 and a series of reeds.
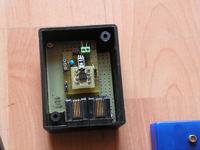
The board is based on **broken link removed**. When registered, you can download all the files you need.
How it looks:
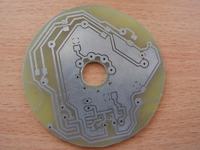
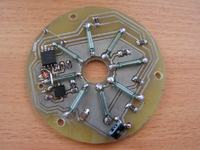
To build the wind meter, you need two old hard drives (more precisely - the bearings). You can unscrew the drive and pull the bearing of the arm.
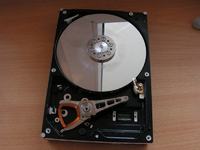
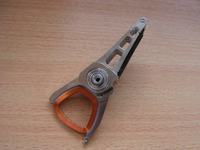
Cut off the unnecessary elements so there is only bearing with housing left. The housing will be used for build the part responsible for measuring the wind speed.
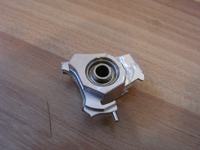
Cut off a circle of PVC tube diameter from foamed PVC. The device will be put into that tube. Screw the bearing housing (previously, drill holes in the aluminum housing). Add an axle, which can be made of a threaded steel rod. Possible gap should be deleted by heat shrink.
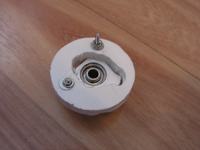
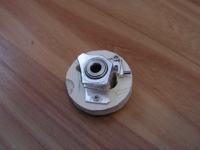
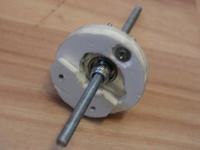
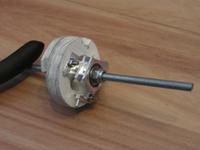
Then mount the reed and a small neodymium magnet on the wheel, which will spin with the axis and short the reed every turnover. Thanks to that DS2423 will calculate and remember the number of pulses.
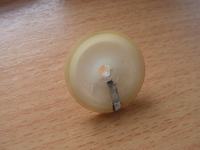
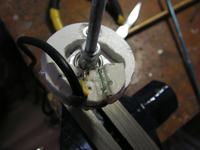
Next step is the fan. It is made of cheap plastic ice-cream spoons. Unnecessary elements of the spoons were removed, four spoons were screwed to a plastic cog and all was flooded with resin to get a good rigidity.
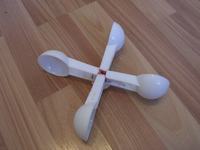
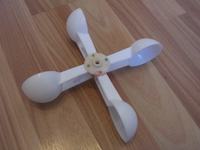
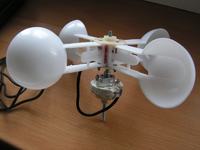
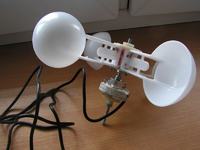
The whole should be mounted in a PVC tube, whose links need to be flooded with resin. The tube should be ended with a disc of foamed PVC. It is good to mount the fan with propeller to the bottom to prevent from pouring water inside in a place where the axis comes out. Remember to flood the place where the cable comes out with resin.
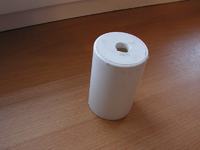
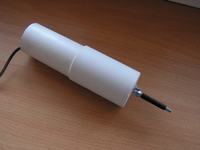
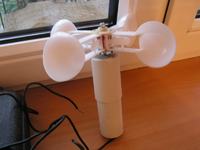
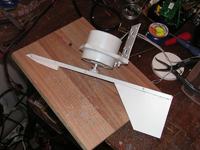
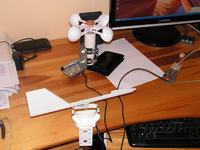
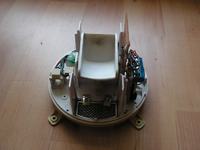
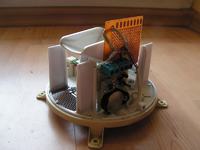
Now the fan is ready, it is time to made the part responsible for checking the wind direction. You also have to cut a disc of PVC, slightly larger than the electronics board. Mount the bearing, axis and screw the board with the neodymium magnet.
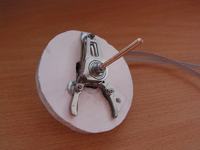
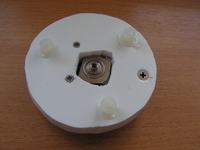
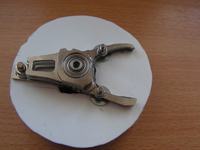
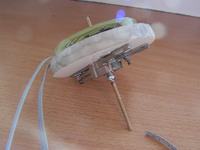
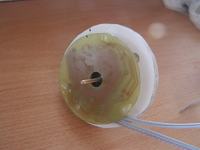
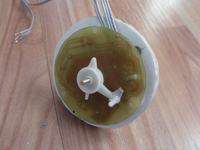
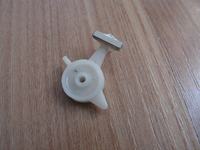
Put the whole in a box. Bracket is made of foamed PVC by cutting a hole for the box (housing). Solder a piece of small prohifil to the brass axle, to which a rudder will be screwed later.
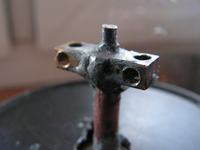
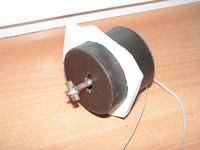
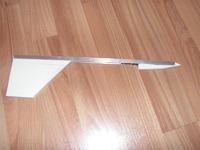
The rudder is aluminum profile and blades cut of foamed PVC. The rudder should be balanced with lead weights for example. The whole now can be assembled and painted with a spray.
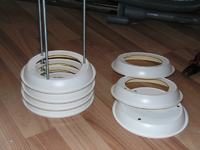
Stevenson screen will protect the sensors against the sun. It was built of bases of pots, threaded rod, washers and nuts. Cut off the centre of bases and screw in regular intervals.
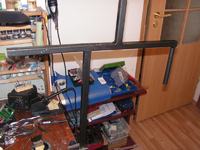
Handle for the station was welded from a steel profile. Box for the connecting cables is airtight electrical box secured with U-bolts.
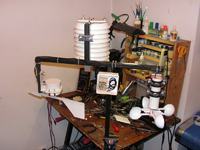
Sensors are mounted inside the Stevenson screen: sunshine sensor, barometer, hygrometer and two temperature sensors DS18B20 (one inside the screen and one outside) for temperature measurement in the sun.
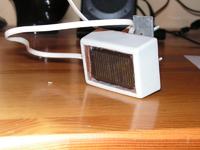
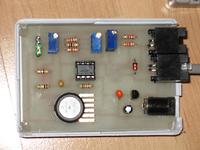
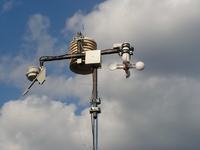
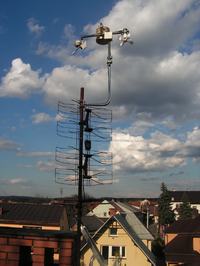
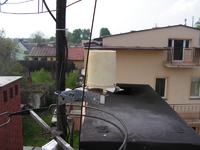
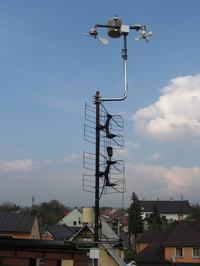
The station was mounted on the roof above the chimney.
The station is connected to the Linux server via RS232->1Wire converter based on DS2480 and RS232. Scheme and converter board can be found at:LINK.
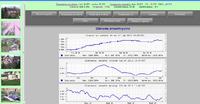
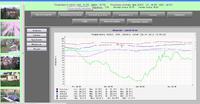
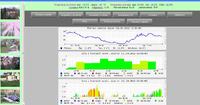
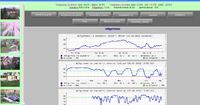
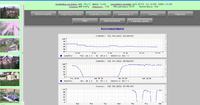
The station is supported by program OWFS, while the other 1-Wire line with temperature sensors inside the house and central heating sensors operates with digitemp. Rrdtool supports displaying the graphs.
Screenshots of measurements on a website:
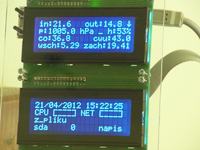
Results are also displayed on two 4x20 LCD displays (LCD2USB driver).
The station can be expanded with precipitation measurement. It was based on an old rocker counter with new electronics. Measurement is based on the same principle as wind speed. The rocker tilting approaches the magnet to the reed switch, which by shorting, gives a pulse to the counter based on DS2423. One tilt is 10mm water per 80cm2 (catchment area).
Pictures:
Link to original thread (useful attachment) – Stacja pogodowa 1-wire